Framer
Here’s how to connect your chatbot to your Framer application in just a few steps. Whether you're offering support, onboarding, or product guidance, integrating your assistant into your app will enhance user interaction and streamline communication.
Step 1: Prepare Your Olivya Chatbot
Start by signing into Olivya’s platform. If you’re new, create an account to begin. Once logged in, set up your bot by feeding it the information it needs—this can include uploading documents, entering plain text, adding website URLs, or uploading FAQ-style content.
This content forms the foundation of your chatbot’s knowledge and response capabilities.
Step 2: Copy the Embed Script
-
Each bot you create comes with a unique embed code. Go to your dashboard, and select the bot you'd like to integrate into your Framer project.
-
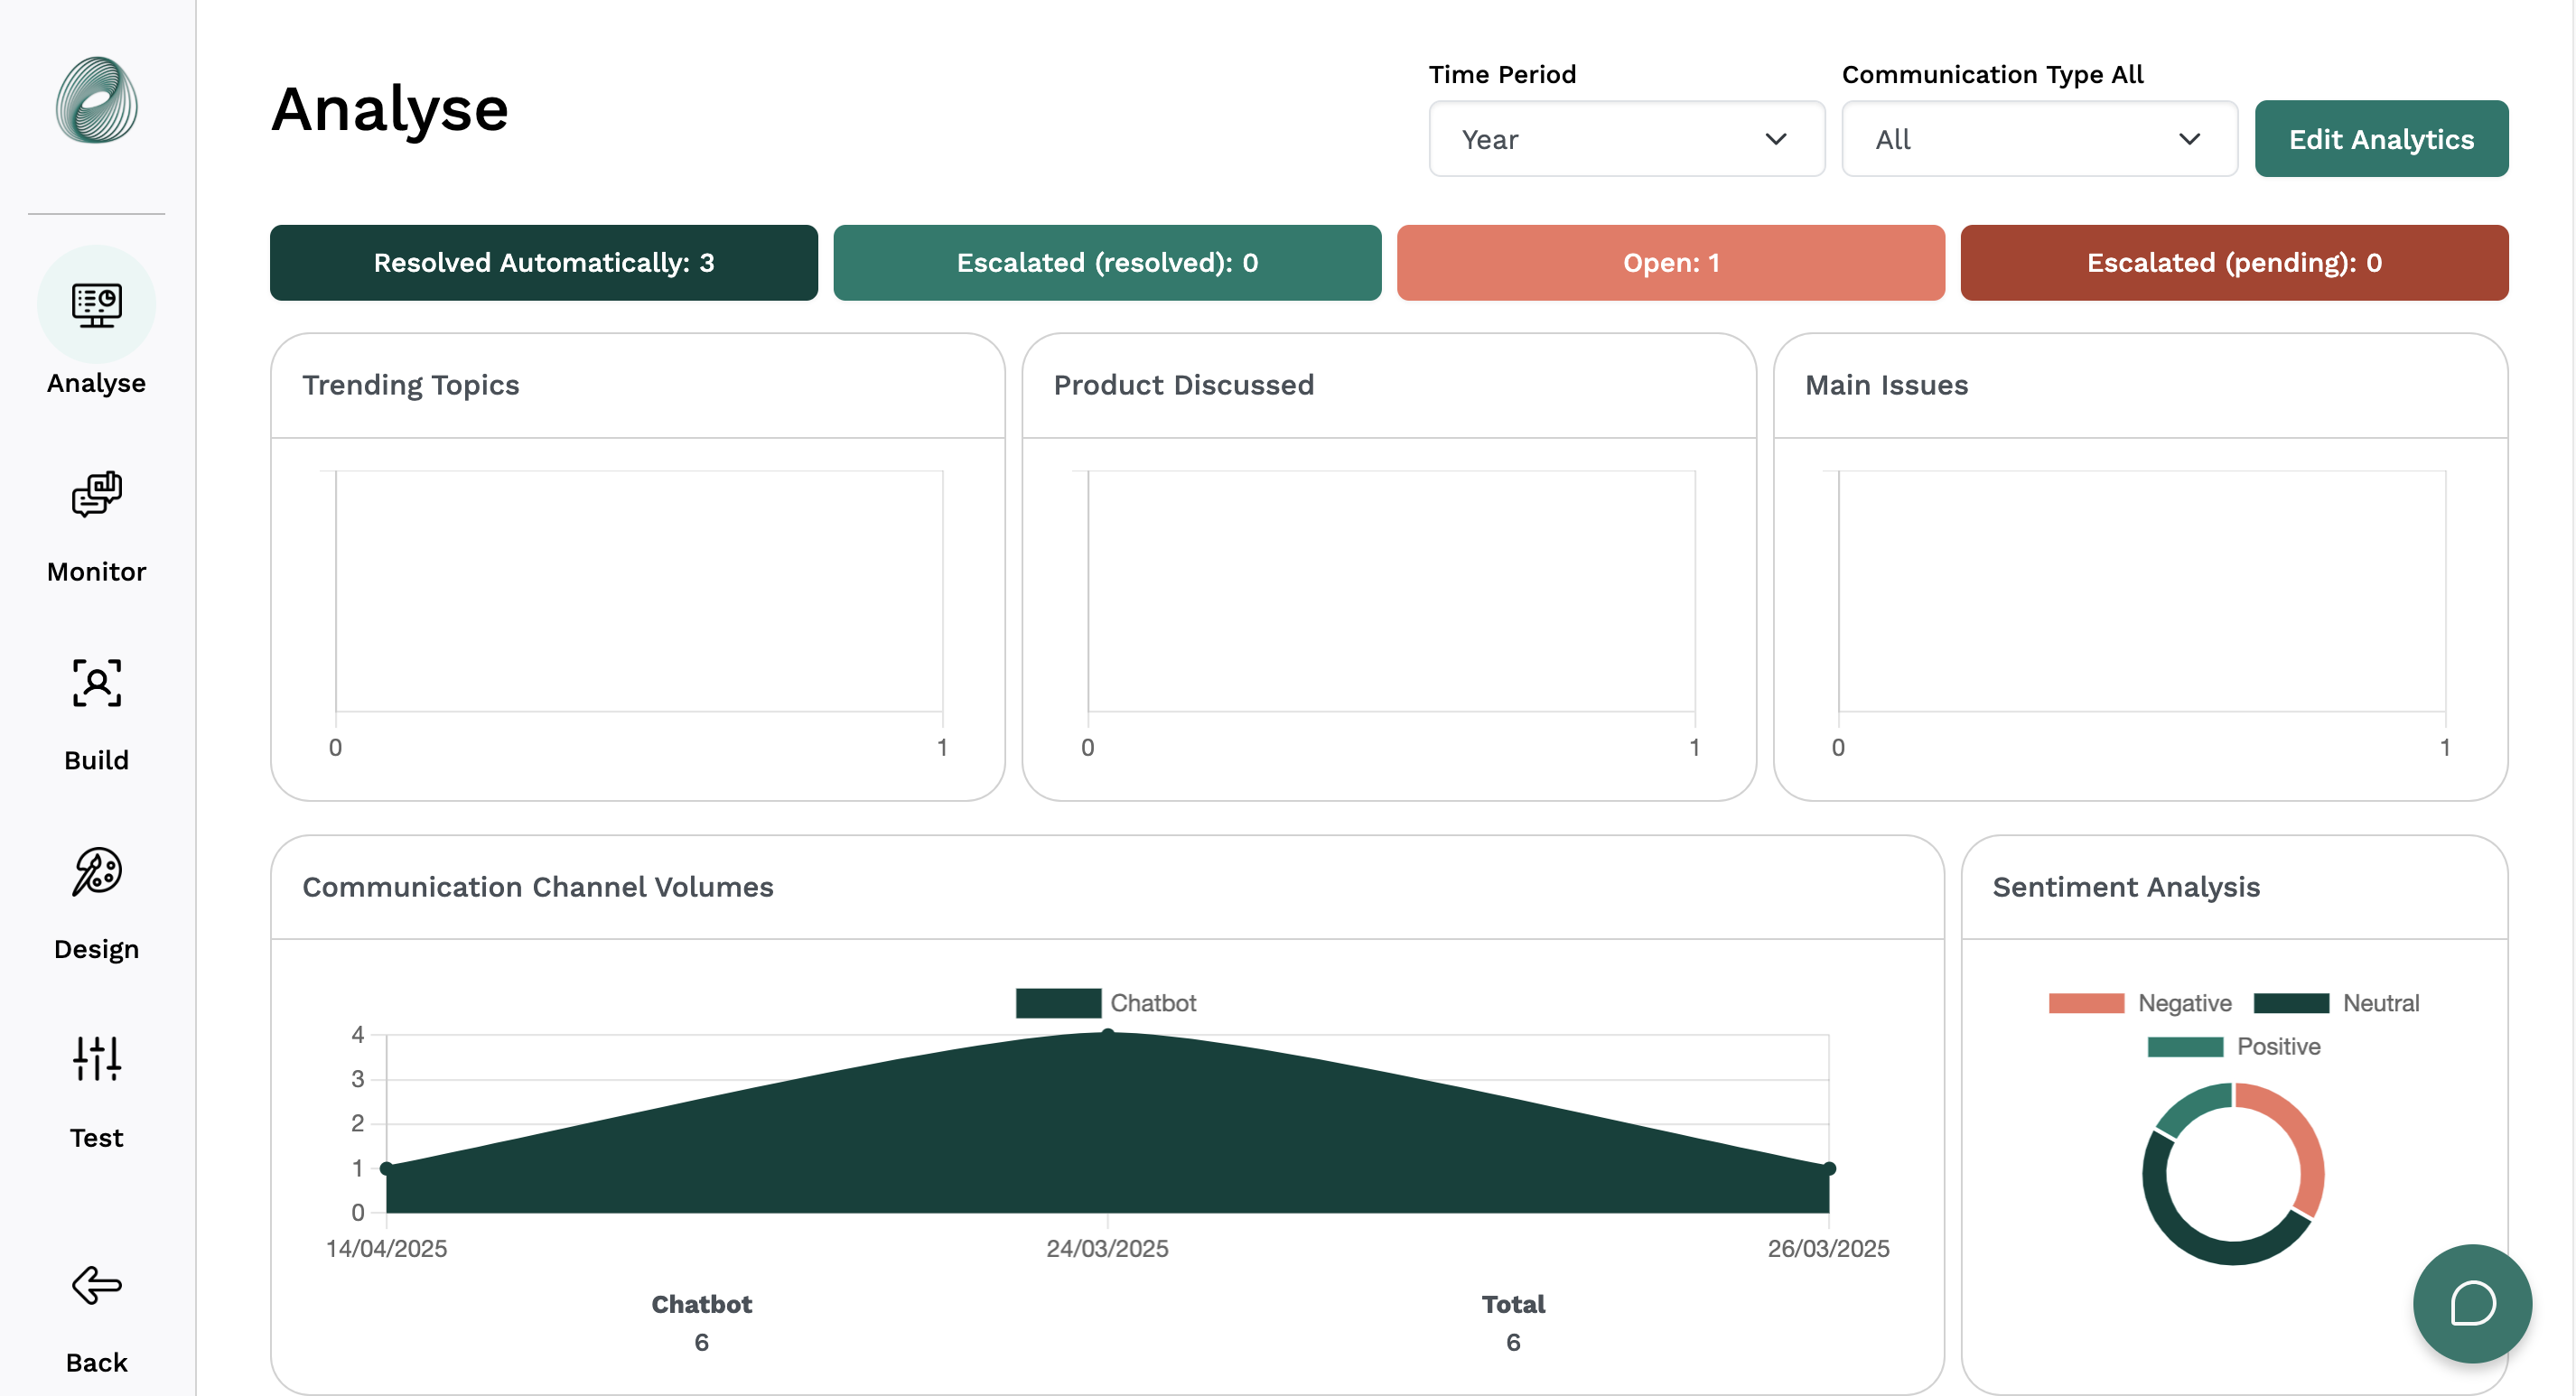
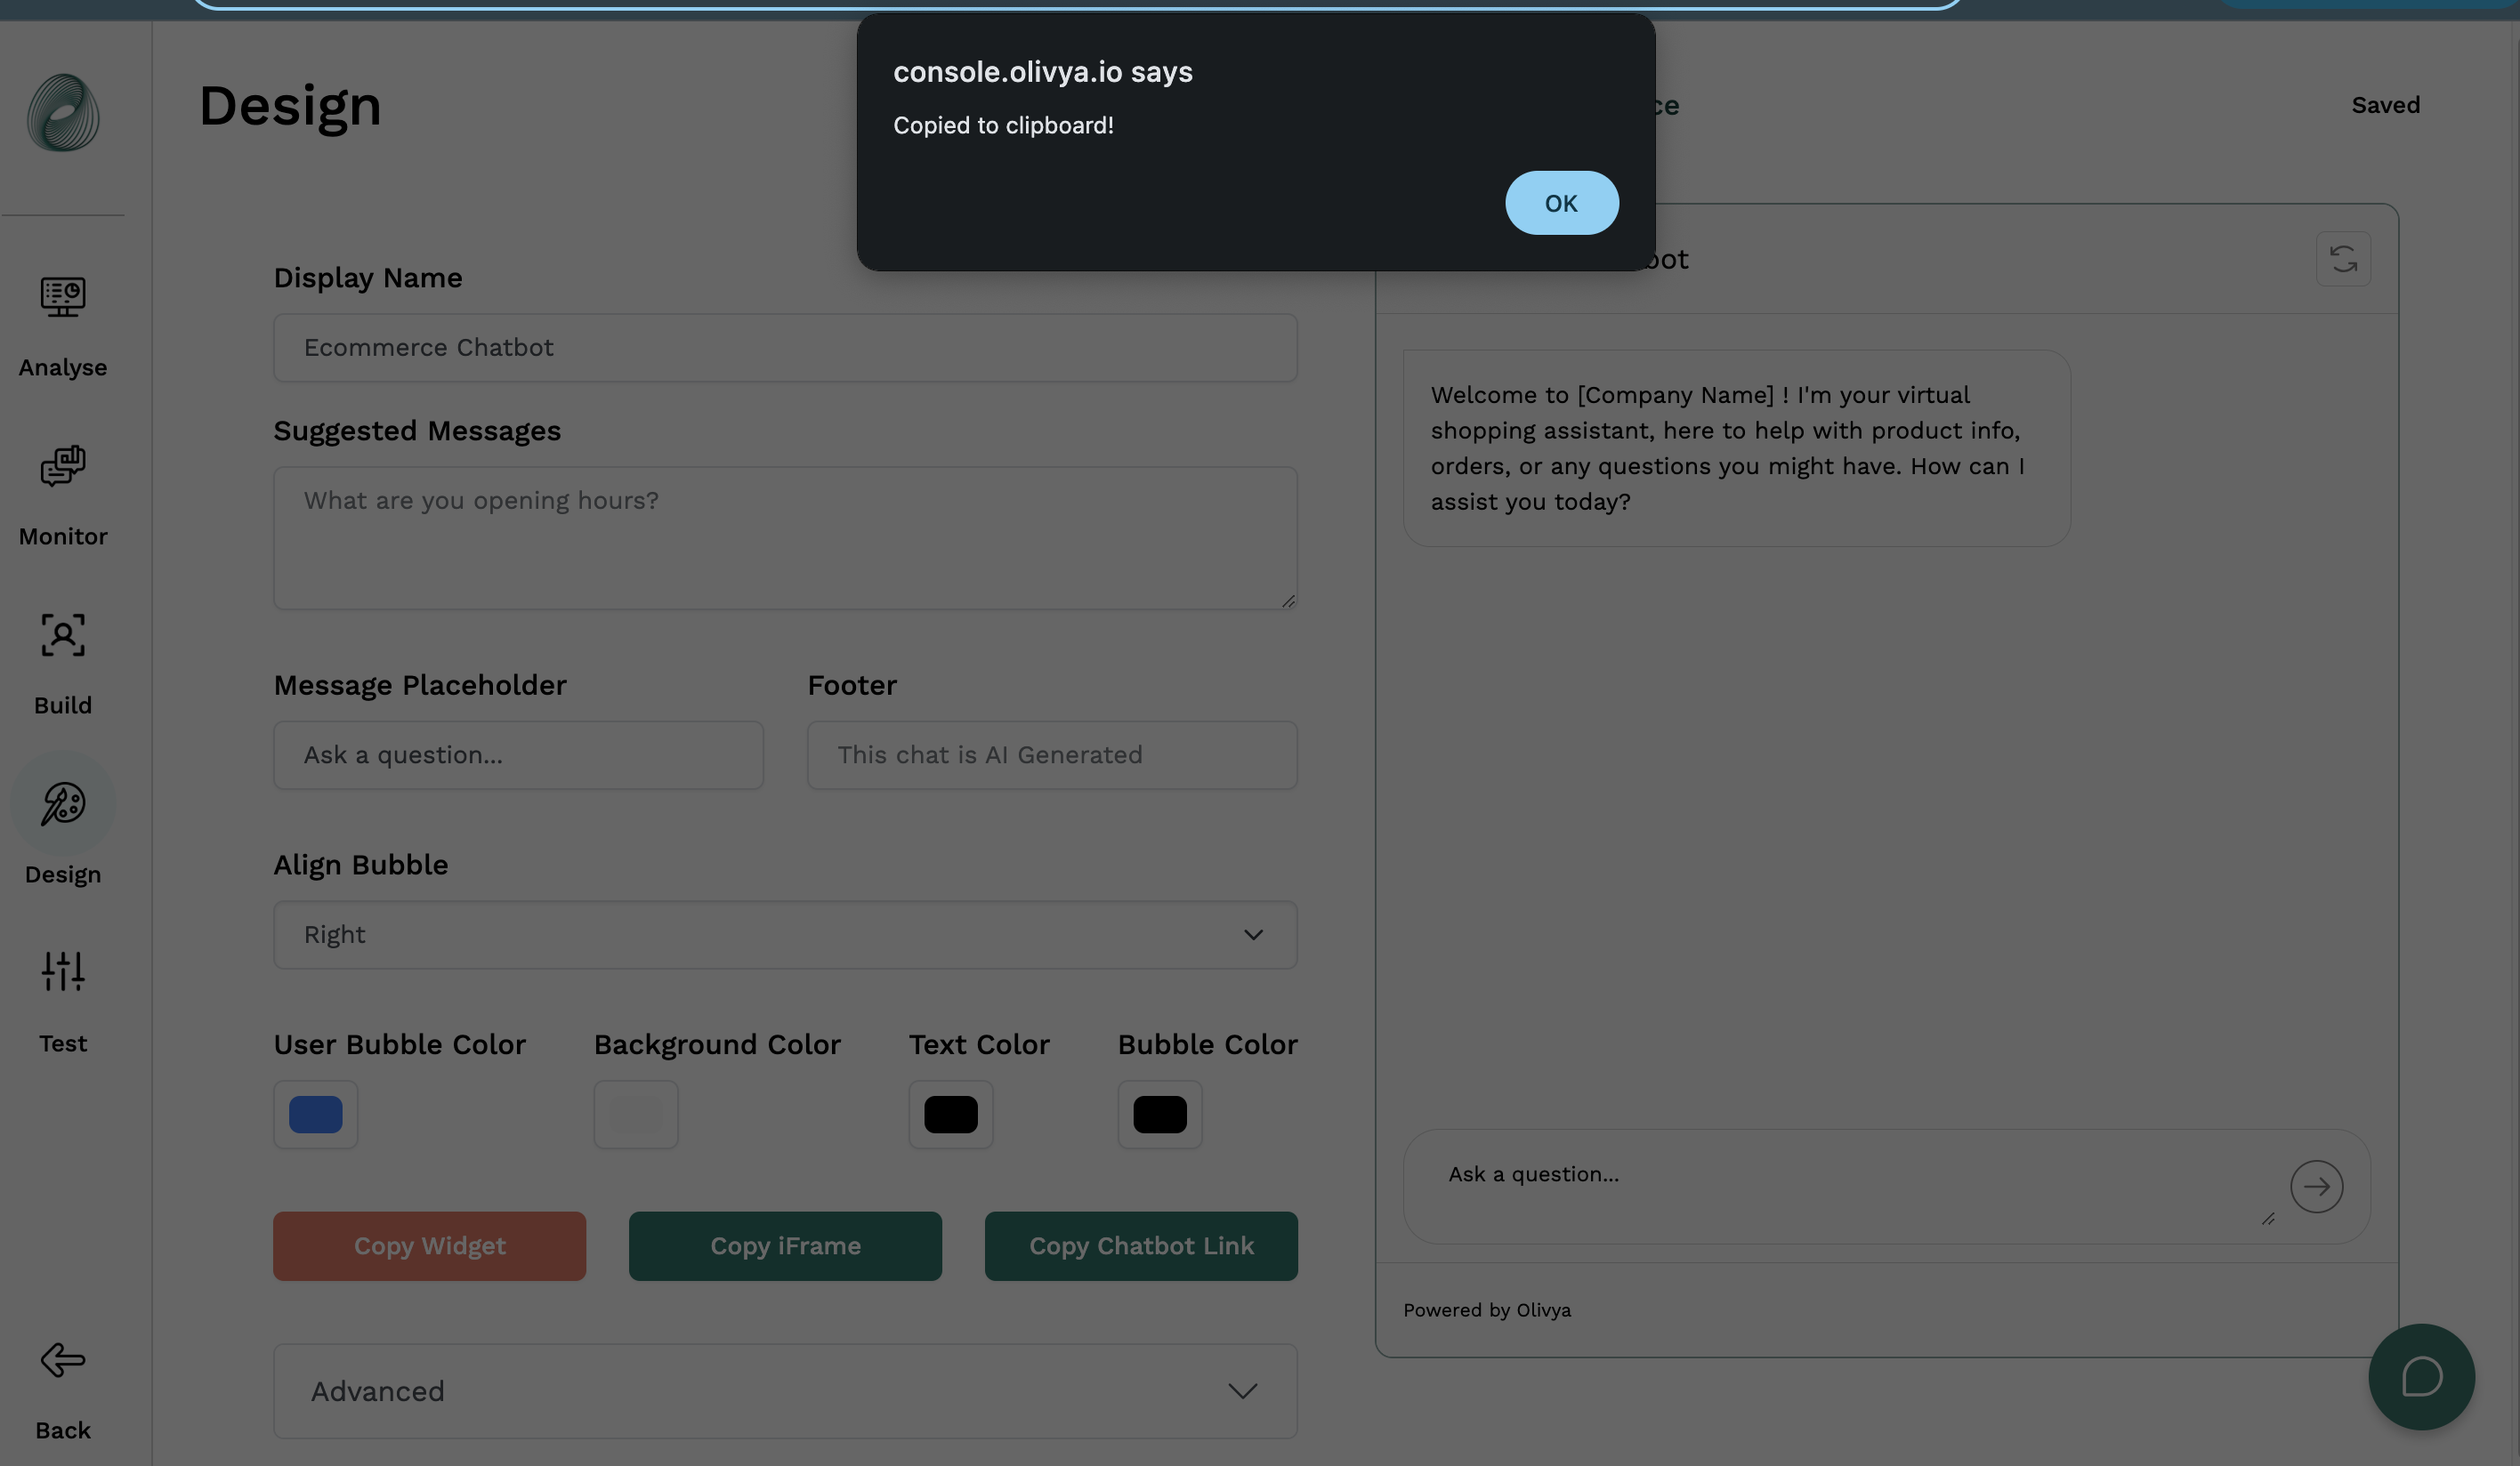
Once inside the bot’s configuration, navigate to the Design section.
-
Once in the chatbot section, click on the Copy Widget button. This script will allow your bot to appear on your Framer project.
Step 3: Add the Chatbot to Your Framer Project
-
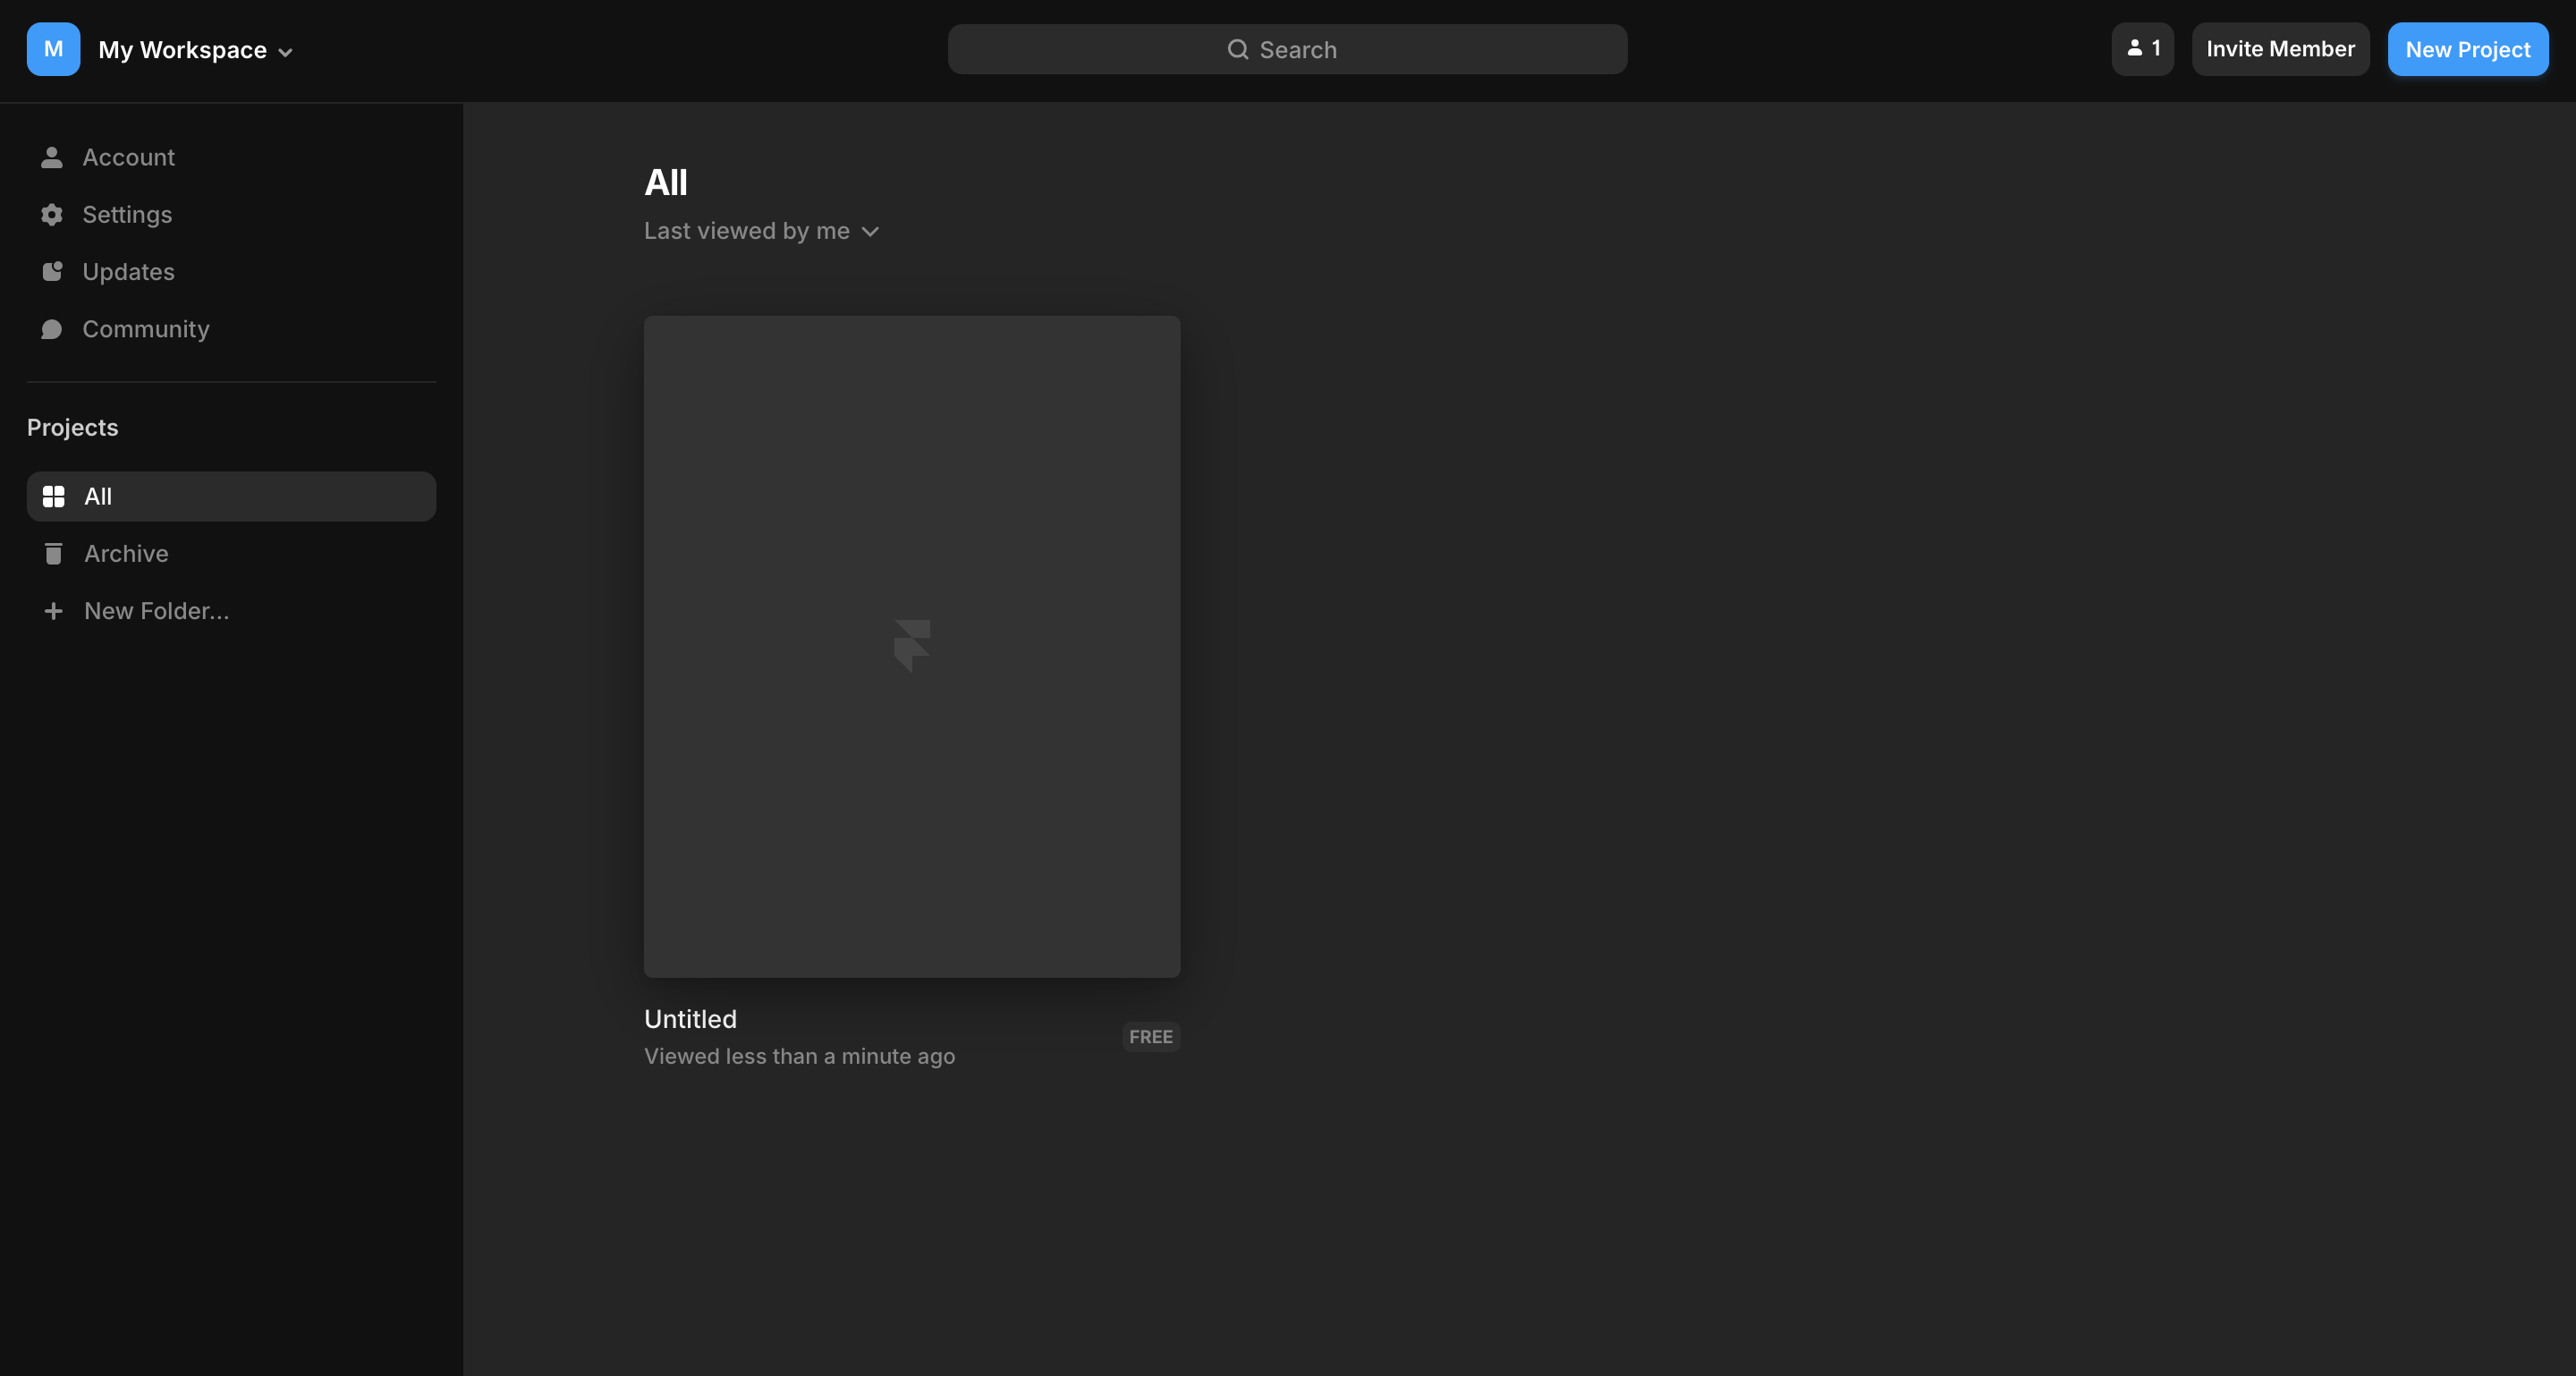
Log in to your Framer account and open your project dashboard.
-
From the dashboard, click on the site project where you'd like to place the chatbot.
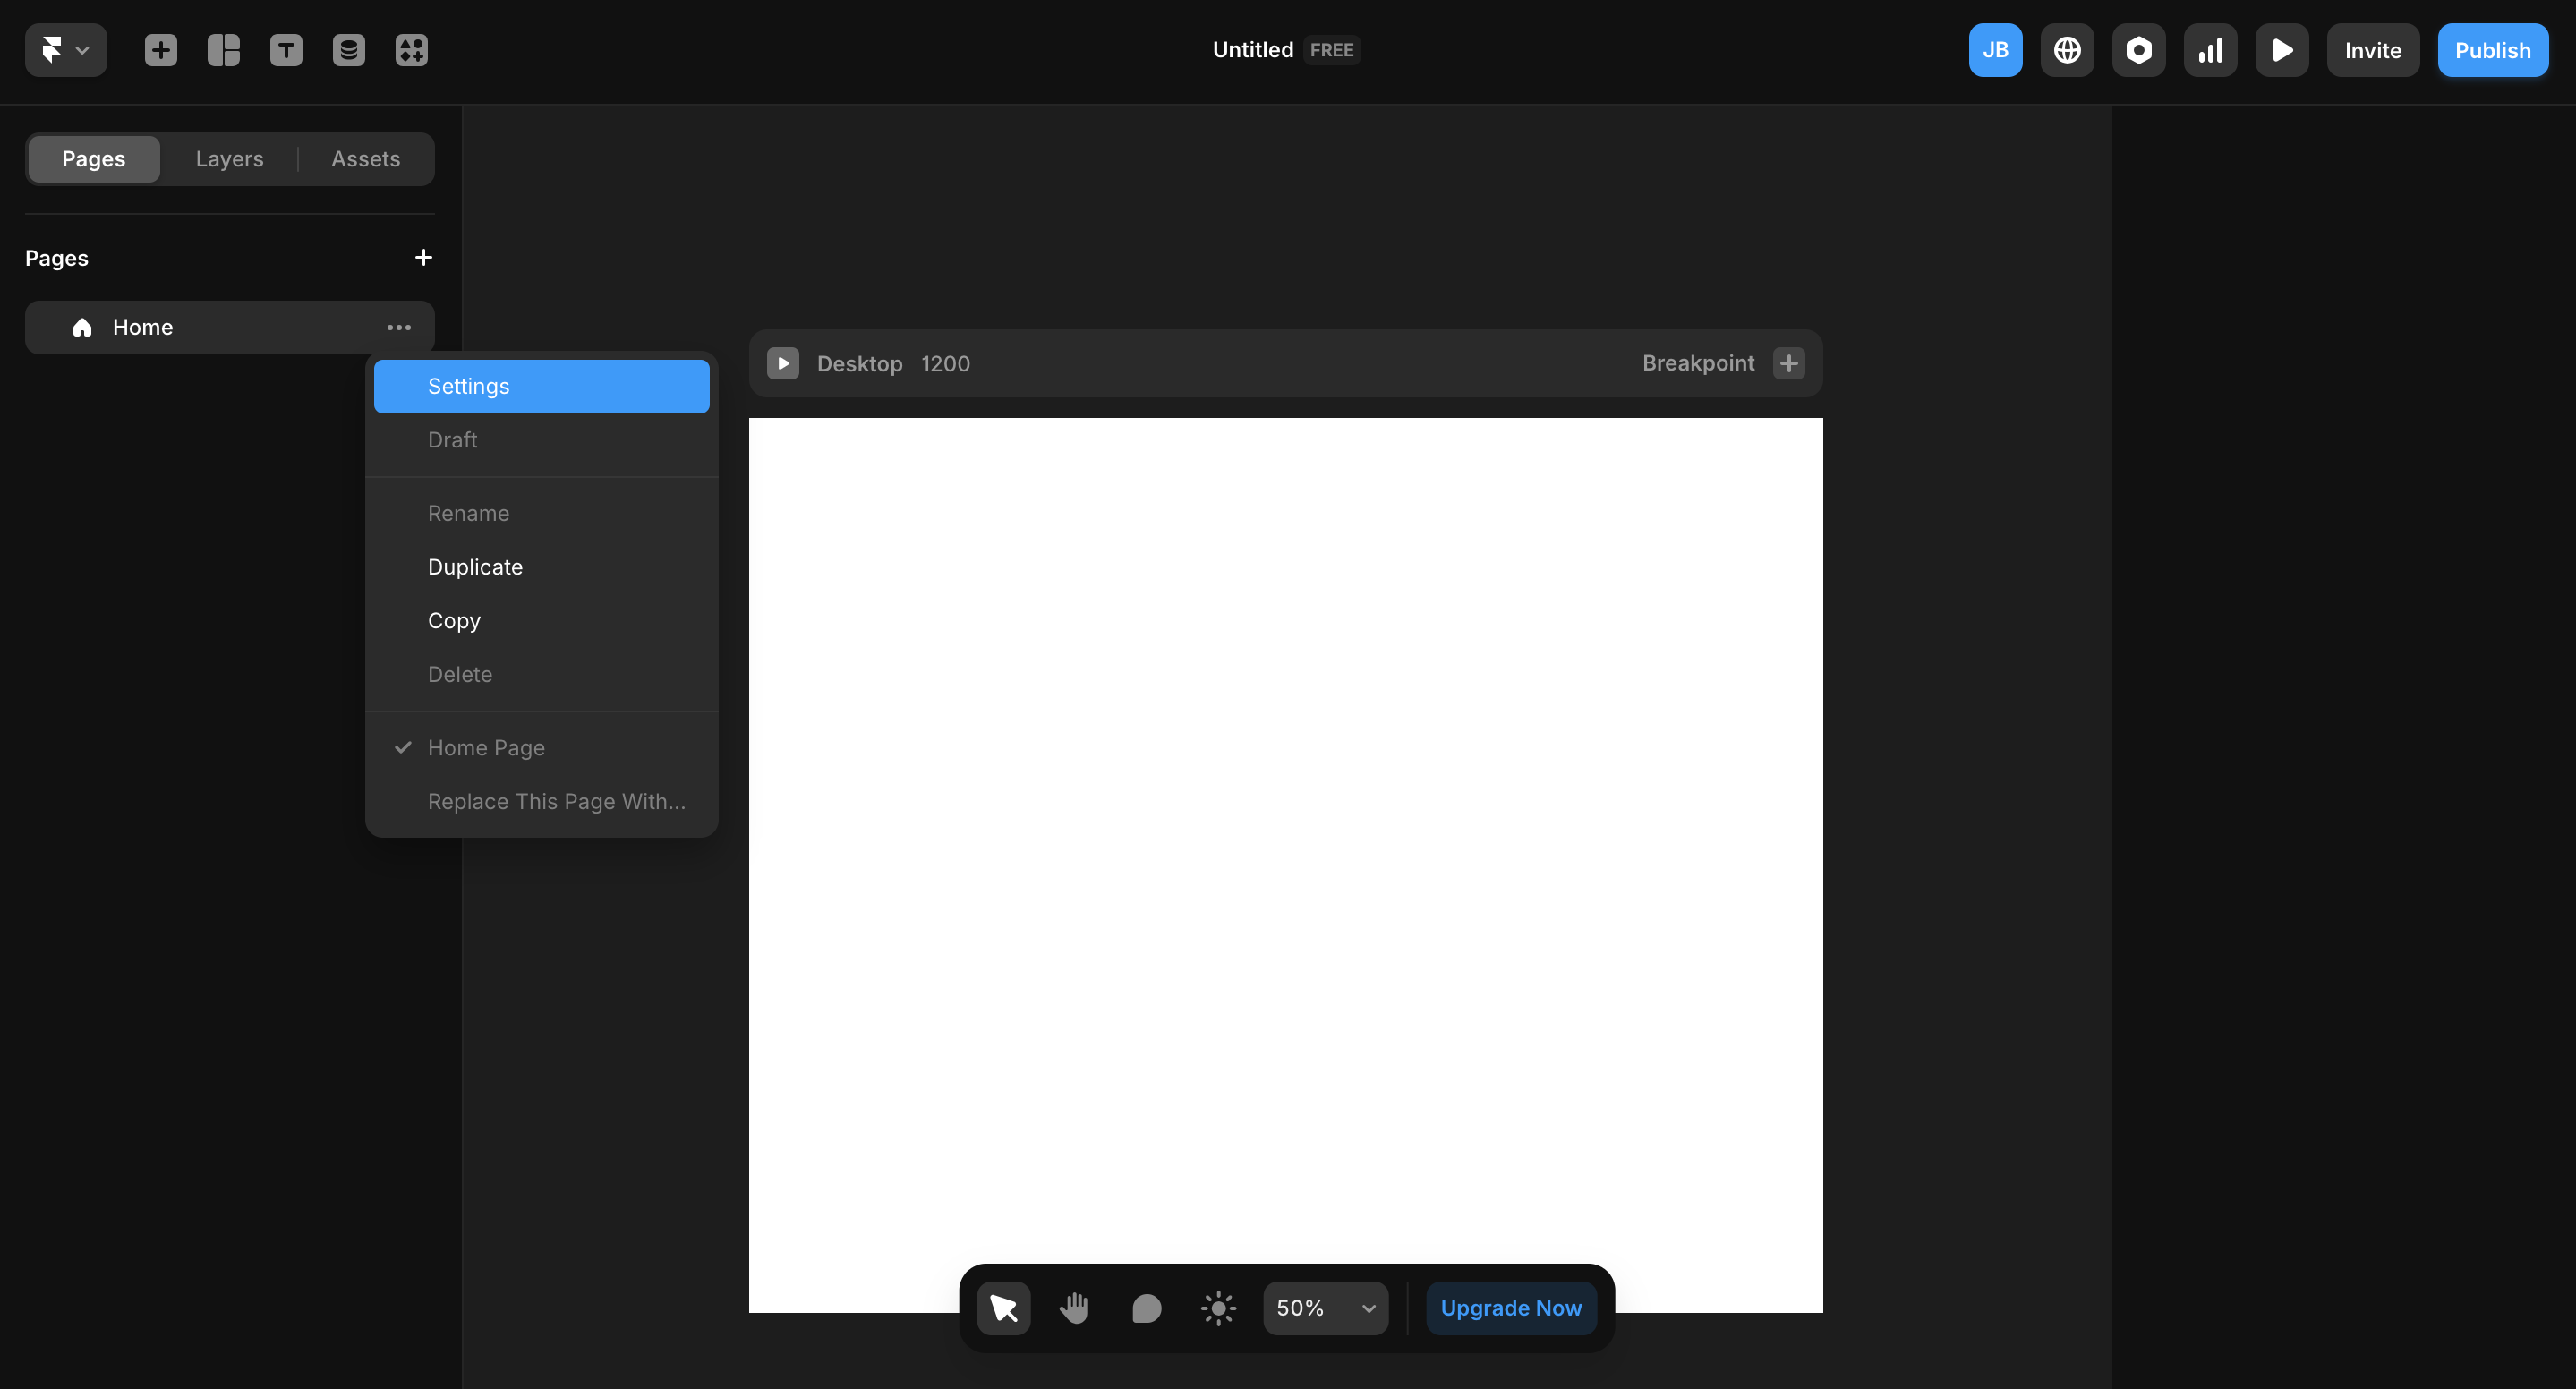
3. Once inside the project, locate the page you want to modify from the left-hand panel. Click the three-dot icon next to the page name and select Settings.
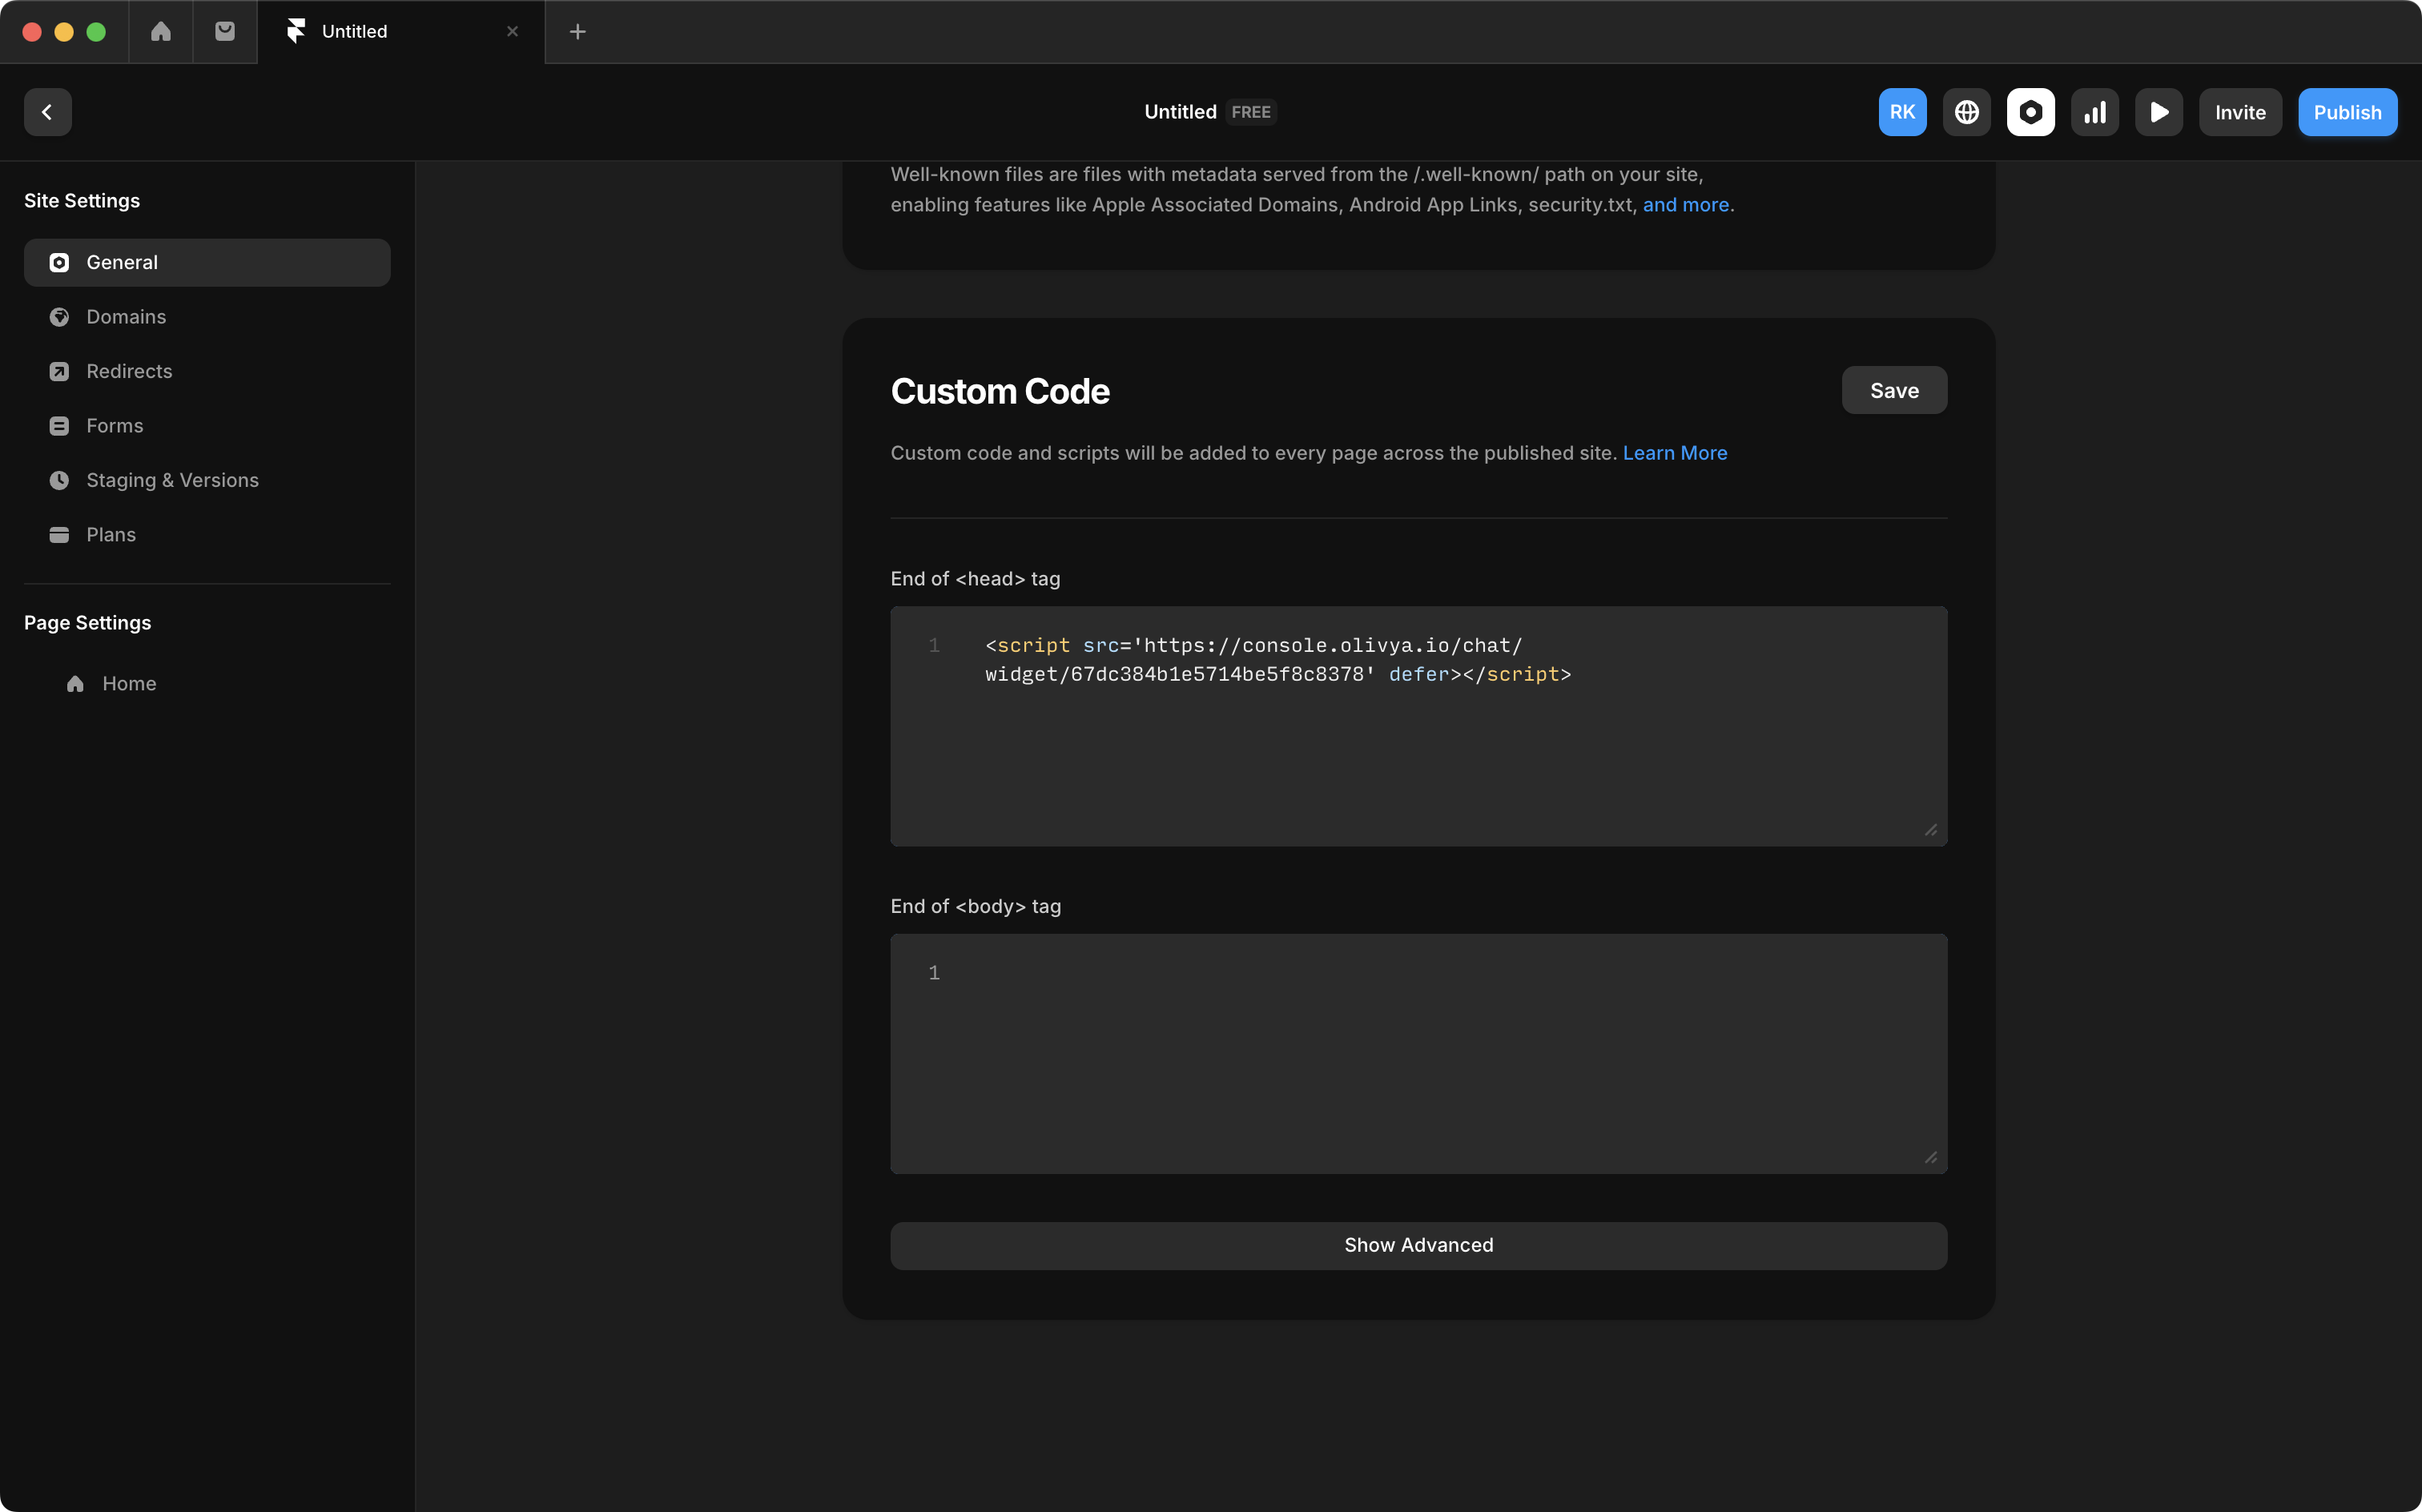
4. In the page settings view, scroll down until you find the section titled Custom Code.
5. In the Start of <head> tag field, paste your Olivya chatbot script. After that, click Save in the top-right corner.
6. Once the changes are saved, preview your site. If everything’s set up correctly, you should now see the chatbot icon floating (typically in the corner) on that page.
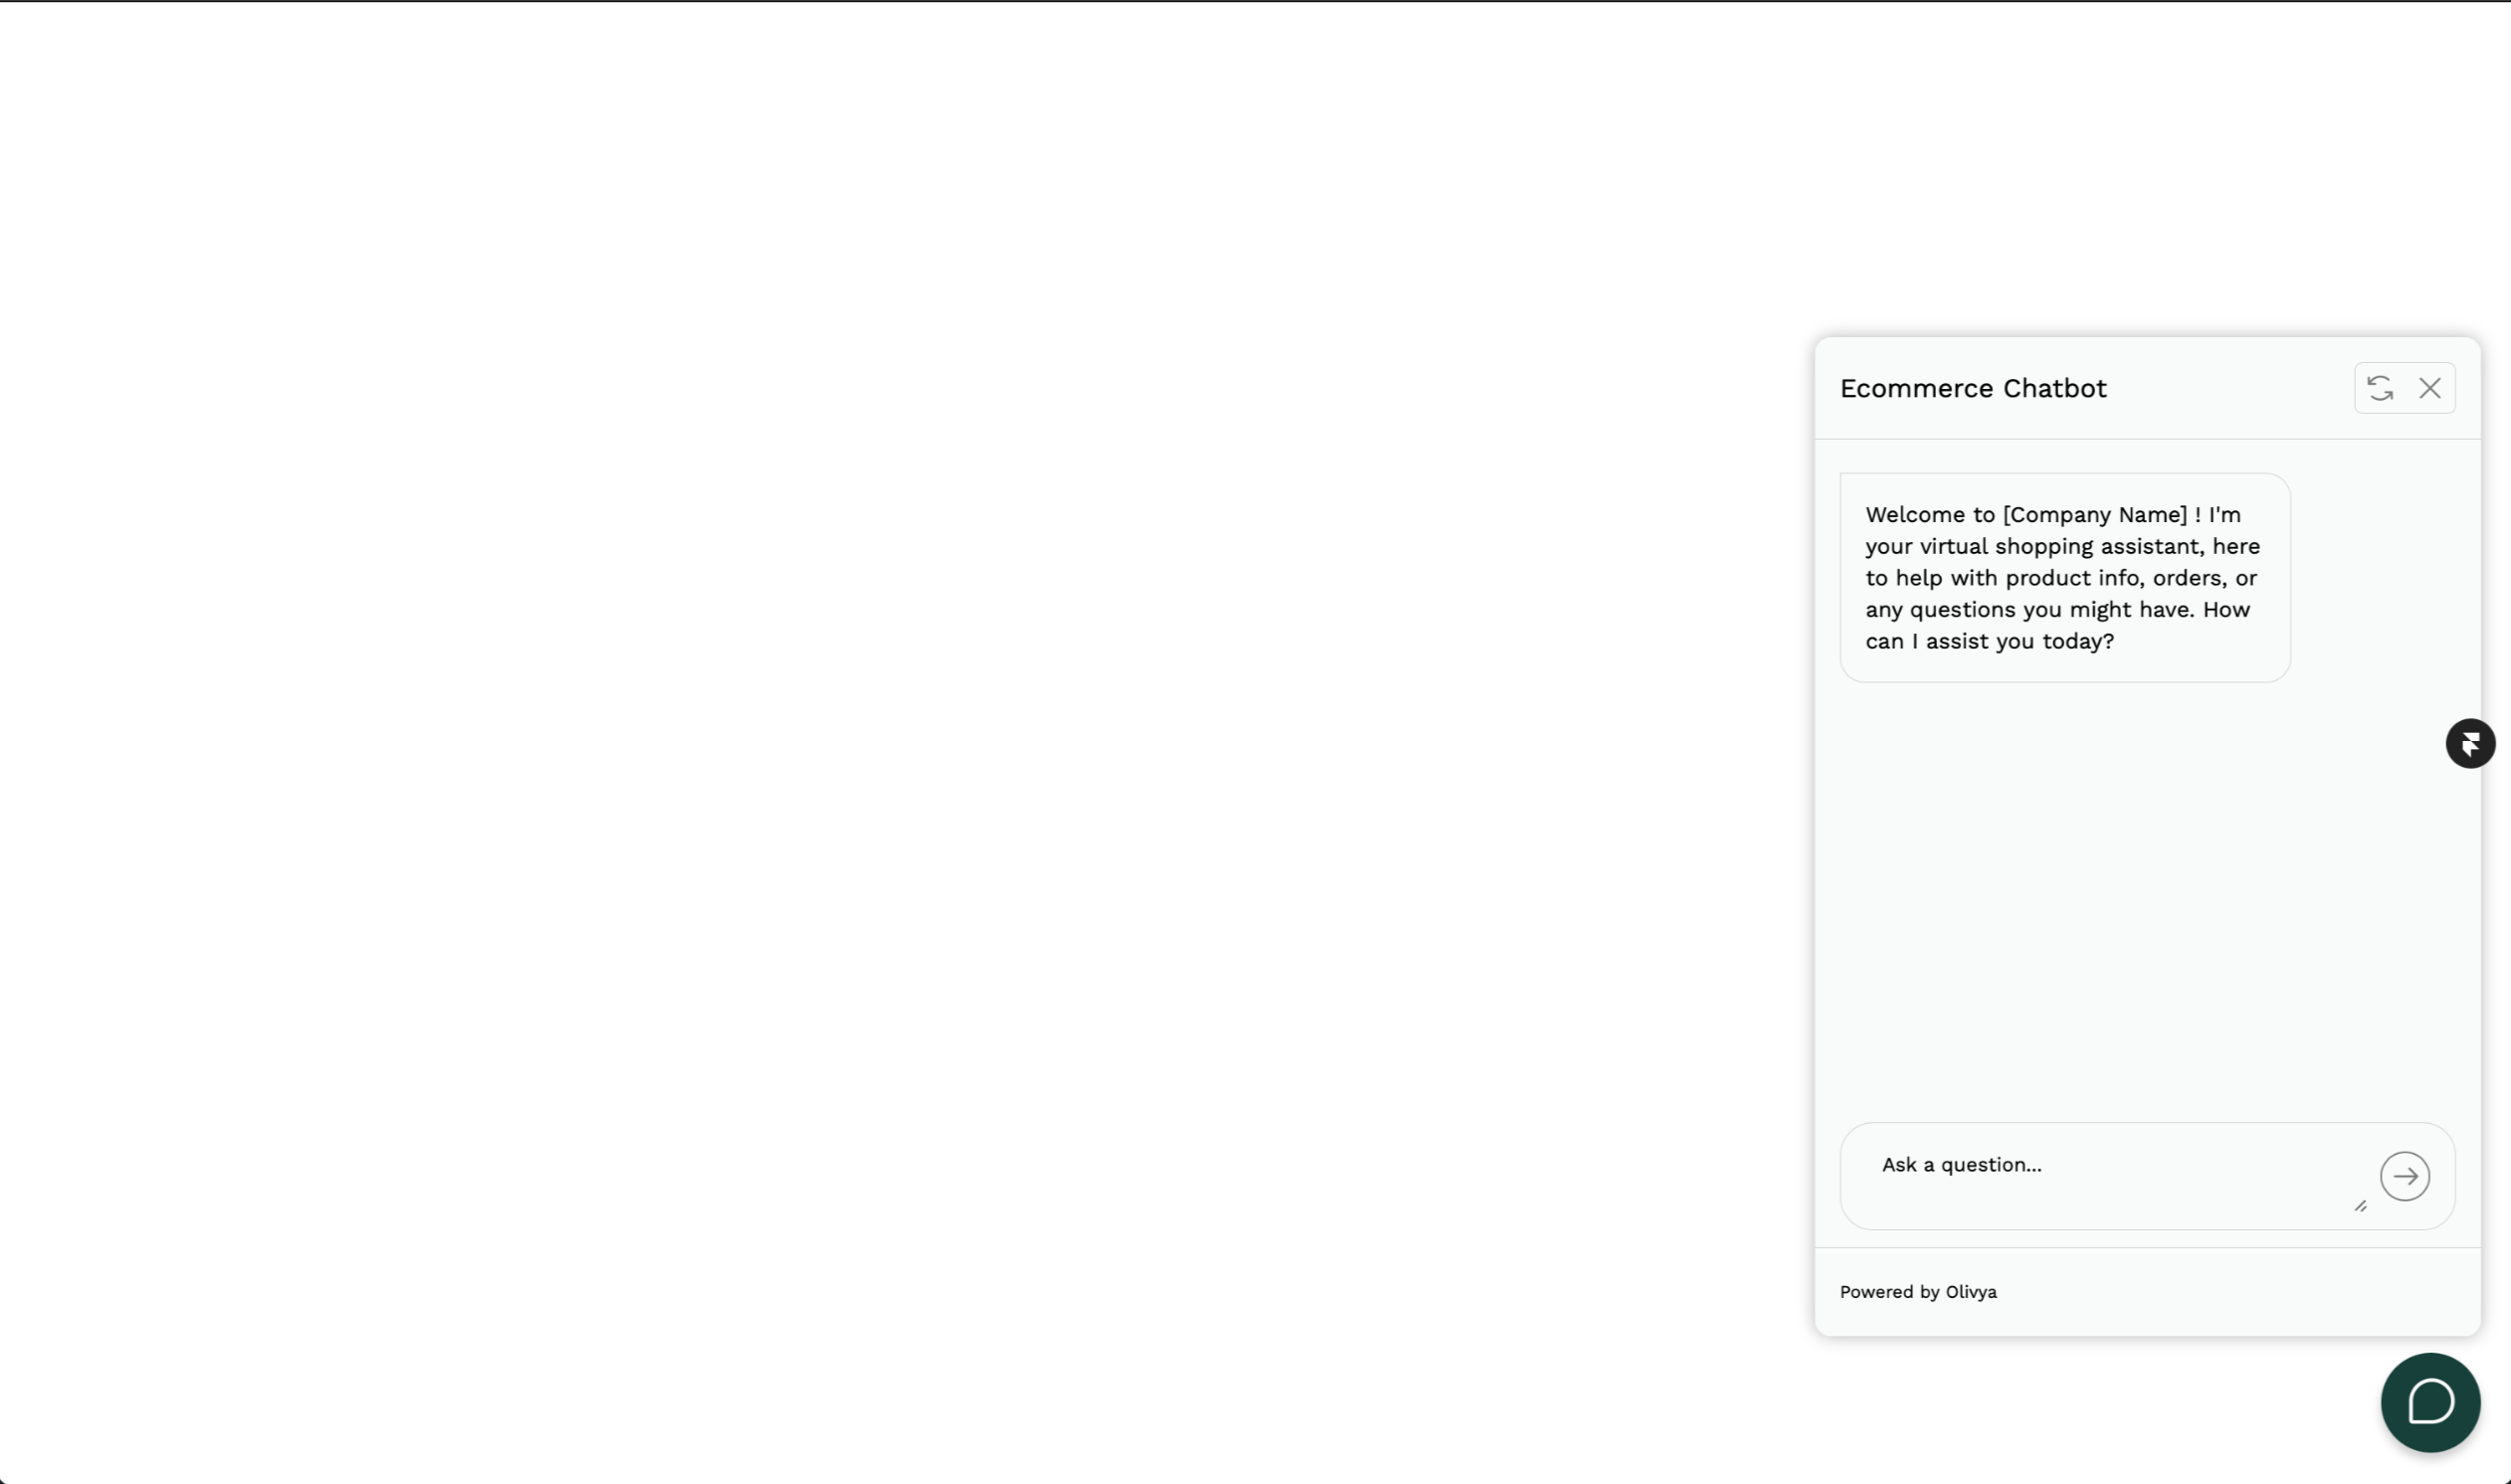
🎉 All Set!
Your chatbot is now running within your Framer application. You can interact with it to ensure it behaves as expected.